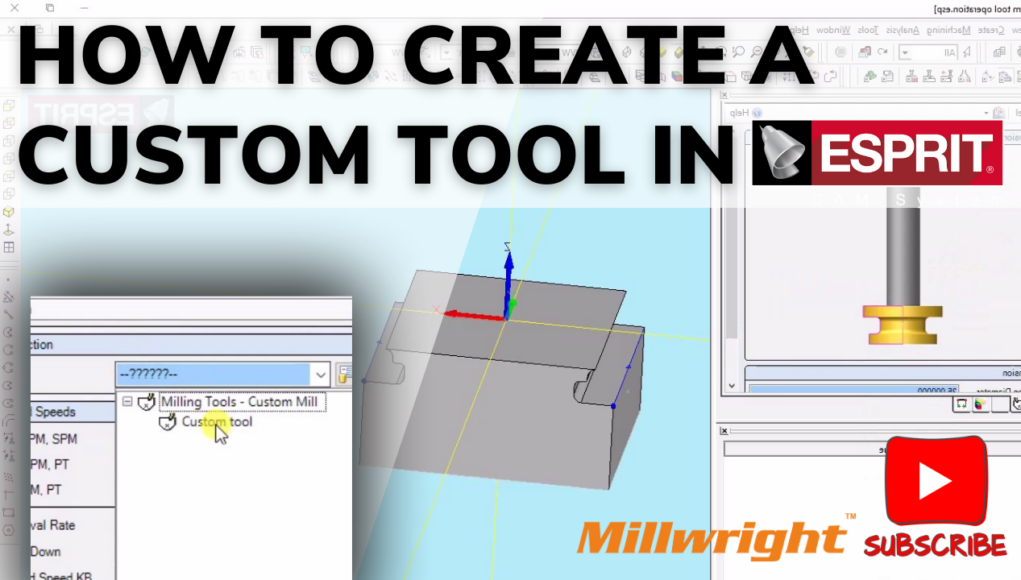
If you’re a machinist or a CAD/CAM enthusiast, mastering ESPRIT’s tool creation process can elevate your machining game. Custom tools allow you to handle complex tasks with ease and precision. In this blog, we’ll walk you through how to create a custom milling tool in ESPRIT.
Why Create Custom Tools in ESPRIT?
Custom tools are essential for advanced machining operations. They offer:
- Enhanced precision for unique geometries.
- Improved efficiency for specialized tasks.
- Seamless integration into your machining workflow.
Step-by-Step Guide to Creating a Custom Tool in ESPRIT
1. Access the Tool Manager
- Open ESPRIT software.
- Navigate to the Tool Manager by clicking
Tools > Tool Manageror using the toolbar.
2. Create a New Tool
- In the Tool Manager, click on New Tool.
- Choose the tool type (e.g., End Mill, Ball Mill, or Custom) based on your machining needs.
3. Define the Tool Geometry
- For Standard Tools:
- Input specifications like diameter, cutting length, and shank diameter.
- For Custom Tools:
- Import a custom tool shape using a 3D STL file or a 2D DXF file.
- Alternatively, manually sketch the tool’s profile within ESPRIT.
4. Set Cutting Parameters
- Assign critical parameters:
- Spindle speed.
- Feed rates.
- Plunge rates.
- Configure coolant settings if required for your operation.
5. Save the Tool
- Save your custom tool in the library to reuse in future projects.
6. Assign the Tool to a Milling Operation
- Select the milling operation where the tool will be used.
- Assign the newly created custom tool to the operation.
7. Simulate the Tool
- Run a simulation to verify tool performance.
- Check for potential collisions and make adjustments if needed.
Tips for Effective Custom Tool Creation
- Always double-check dimensions and specifications to avoid errors.
- Simulate your tool paths before actual machining to save time and material.
- Use high-quality STL or DXF files for precise custom tool geometries.
Final Thoughts
Creating a custom tool in ESPRIT is a straightforward process that can significantly improve your machining workflow. By following these steps, you’ll be able to handle specialized tasks with ease and precision.
Do you have any questions or tips about using ESPRIT for custom tools? Share them in the comments below!


