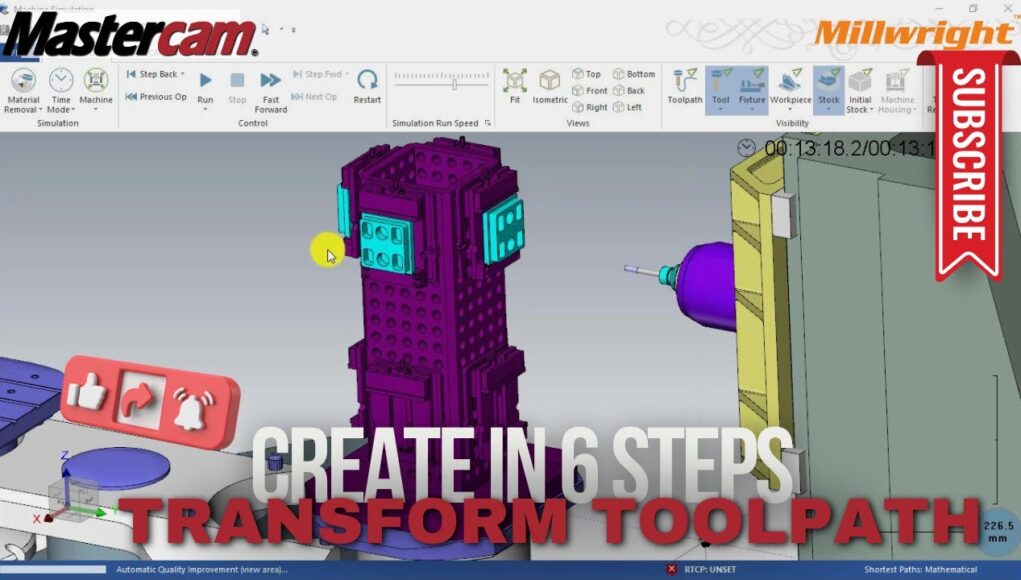
Introduction: Mastercam is a powerful tool for machining complex parts, especially when it comes to utilizing a Horizontal Machining Center (HMC) with a 4th axis. In this blog, we’ll walk you through the step-by-step process of creating a Transform toolpath in Mastercam for a 4th-axis setup, enabling you to machine parts at various angles with precision and efficiency.
Step 1: Set Up Your Part and Coordinate System
- Launch Mastercam: Start by opening Mastercam and either create a new project or open an existing one.
- Define Your Part: Ensure your part is correctly modeled and oriented in the 3D space. The coordinate system should be aligned with your HMC setup.
Step 2: Define the 4th Axis Configuration
- Machine Setup: Confirm that your machine setup in Mastercam includes the 4th axis (often labeled as the A-axis).
- Coordinate System Alignment: Ensure the coordinate system for the 4th axis is correctly aligned, as it usually rotates around the horizontal axis on an HMC.
Step 3: Create the Toolpath
- Select Toolpath Type: Go to the “Toolpaths” tab and select the appropriate toolpath for your operation, such as Contour, Pocket, or Drill.
- Define Toolpath Parameters: Adjust parameters like depth cuts, stepovers, and feed rates according to the specific operation.
Step 4: Apply Transform Toolpath
- Open the Transform Toolpath Dialog: In the Toolpaths tab, find and select “Transform” or “Transform Toolpath.”
- Select Toolpath to Transform: Choose the toolpath you want to apply the transformation to.
- Set Up Transform Parameters:
- Transformation Type: Typically, you’ll select rotation for 4th-axis machining.
- Rotation Axis: Specify the A-axis as the rotation axis.
- Rotation Angle: Enter the desired angle of rotation around the A-axis.
- Incremental or Absolute: Choose whether the rotation is incremental or absolute.
- Apply the Transformation: Click “Apply” or “OK” to adjust the toolpath based on the rotation settings.
Step 5: Verify and Simulate
- Check Toolpath Preview: Use Mastercam’s simulation tools to preview the transformed toolpath and ensure it executes as expected.
- Adjust If Needed: Refine the transform parameters or toolpath settings as necessary.
Step 6: Post-Process and Export
- Post-Process: Once satisfied with the toolpath, use Mastercam’s post-processor to generate the CNC code, ensuring it supports 4th-axis operations.
- Export Code: Export the CNC code to your HMC, making sure it matches your machine’s configuration.
Here is the completed Video Tutorial
Additional Tips:
- Consult Documentation: Always refer to Mastercam’s documentation or online resources for version-specific details and troubleshooting.
- Check Machine Setup: Ensure your HMC’s 4th axis is properly set up and calibrated.
- Verify Setup: Double-check all settings and parameters to avoid errors and ensure precise machining.
Conclusion: By following these steps, you can effectively create a Transform toolpath in Mastercam for 4th-axis operations on an HMC. This process will enable you to perform complex machining tasks with accuracy, ultimately leading to better results in your manufacturing projects.


