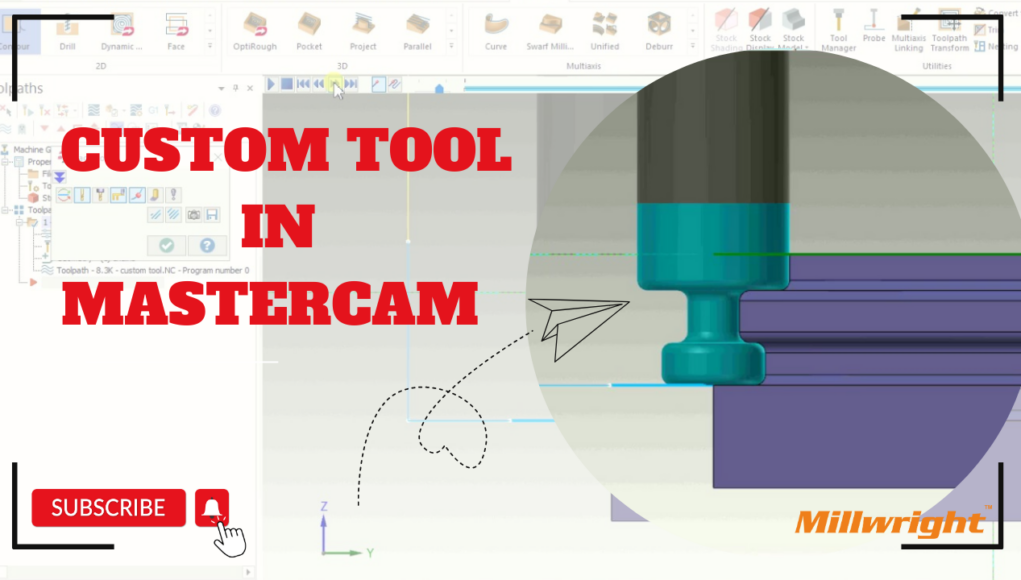
Creating a Custom Tool in Mastercam
Mastercam allows users to create custom tools for machining operations when standard tools do not meet specific requirements. This feature is essential for defining special cutting tools such as custom endmills, form tools, or lathe inserts. If you are looking for a Mastercam training course in Chennai, mastering custom tool creation can enhance your machining skills.
Steps to Create a Custom Tool in Mastercam
1. Open the Tool Manager
- Navigate to the Toolpaths tab and click on Tool Manager.
- Select an existing tool library or create a new one to store the custom tool.
2. Create a New Tool
- Click Create Tool and choose the appropriate tool type (Mill, Lathe, Drill, etc.).
- Enter key tool parameters such as diameter, flute length, corner radius, and overall length.
- If you are enrolled in Mastercam University online training in Chennai, practicing these steps will help reinforce your learning.
3. Define Custom Geometry (Optional)
- If the tool has a non-standard shape:
- Click Edit Draw Tool to create the tool using Mastercam’s built-in drawing tools.
- Alternatively, import a DXF file of the tool profile. Ensure it is a 2D revolved profile aligned with the centerline.
4. Save and Store the ToolCreating a Custom Tool in Mastercam
- Click OK to finalize the tool definition.
- Save the tool in your library for future use across different projects.
5. Test the Custom Tool
- Assign the tool to a toolpath and run a simulation to verify its cutting performance.
- Adjust tool parameters if needed for better accuracy and efficiency.
- Enrolling in an affordable Mastercam certification course in Chennai can help you understand these steps in-depth.
Conclusion
Creating custom tools in Mastercam enhances precision and efficiency in machining operations. Whether you are a beginner or an experienced machinist, investing in the right Mastercam training price in Chennai ensures you gain industry-ready skills. Start your journey today and unlock the full potential of Mastercam!


