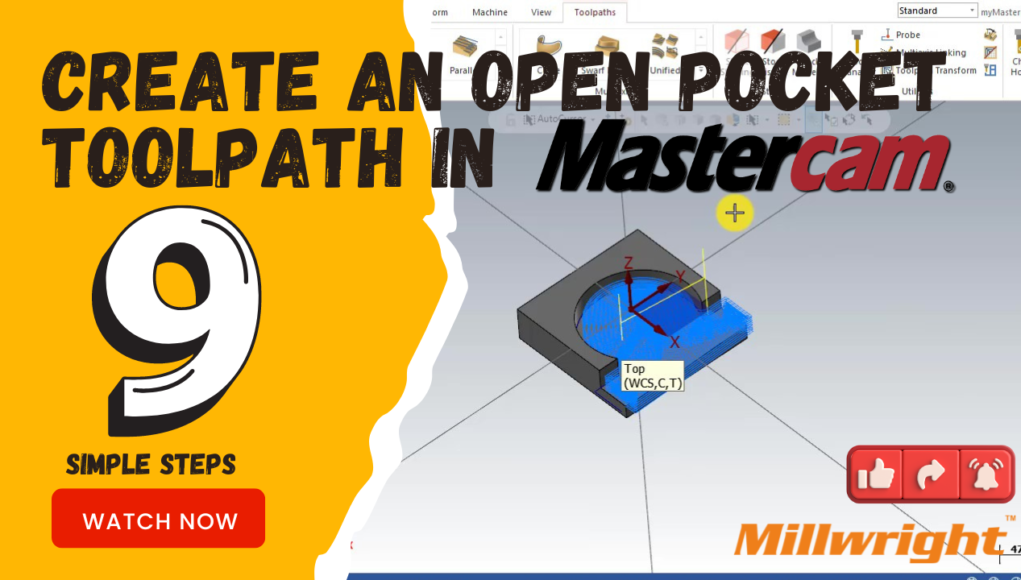
Creating an Open Pocket toolpath in Mastercam involves specifying the geometry of the pocket and defining the machining strategy to ensure that the toolpath respects the open edges of the pocket. Here’s a step-by-step guide on how to do it:
Steps to Create an Open Pocket Toolpath in Mastercam:
Open Your Part File: Launch Mastercam and open the part file where you want to create the open pocket toolpath.
Switch to 2D Toolpaths: In the Operations Manager, switch to the appropriate tab for 2D toolpaths. Typically, this will be something like ‘2D High Speed’ or ‘2D Milling’.
Select Pocket Toolpath: Click on ‘Pocket’ to select the Pocketing toolpath operation. This is used for machining pockets with closed or open boundaries.
Define Pocket Geometry:
- In the Pocket parameters dialog box:
- Tool: Select the tool you want to use for machining the pocket. Ensure the tool diameter and type (end mill, ball mill, etc.) are appropriate for your pocket dimensions and material.
- Geometry: Click on ‘Chain’ and select the edges that define the boundary of your open pocket. This could be done by picking the edges manually or by selecting the entire chain that represents the outline of the pocket.
- Depth: Specify the depth of the pocket. You can enter a depth value directly or select a depth from your model.
Set Pocketing Strategy:
- Under ‘Strategy’, choose the appropriate method for pocketing. For an open pocket, you typically have two main options:
- Open: This strategy machines only along the selected edges of the pocket geometry. It ignores any closed boundaries and machines up to the open edges.
- Open (Offset): This strategy offsets the toolpath inward or outward from the selected edges, allowing you to control how the tool engages with the material along the open edges.
Adjust Cutting Parameters: Configure additional parameters such as cutting depths (depth per cut), stepovers, toolpath tolerance, and any allowances for finish passes or stock to leave.
Verify Toolpath: Before generating the toolpath, use Mastercam’s simulation tools (e.g., Backplot and Verify) to preview the toolpath. Ensure that the toolpath correctly follows the open edges of your pocket geometry without cutting into unintended areas.
Generate Toolpath: Once satisfied with the parameters and simulation, generate the toolpath. Mastercam will calculate the path the tool will take to machine the open pocket according to the defined parameters and strategy.
- Post-Process and Save:
- After generating the toolpath, post-process it to create the NC code that your CNC machine will use for machining.
- Save your part file with the generated toolpath for future reference or adjustments.
Video tutorial
Tips:
- Geometry Selection: Ensure you accurately select the edges that define the open pocket. This ensures the toolpath follows the intended machining area.
- Simulation: Always simulate your toolpath to verify the machining process before actually running it on your CNC machine.
- Toolpath Strategy: Choose the appropriate strategy (‘Open’ or ‘Open (Offset)’) based on how you want the tool to engage with the open edges of your pocket geometry.
By following these steps, you can effectively create an Open Pocket toolpath in Mastercam for your CNC machining operations. Adjust the parameters according to your specific part geometry, tooling, and machining requirements for optimal results.


